Share
Pin
Tweet
Send
Share
Send
Making an original clutch with a frame lock.

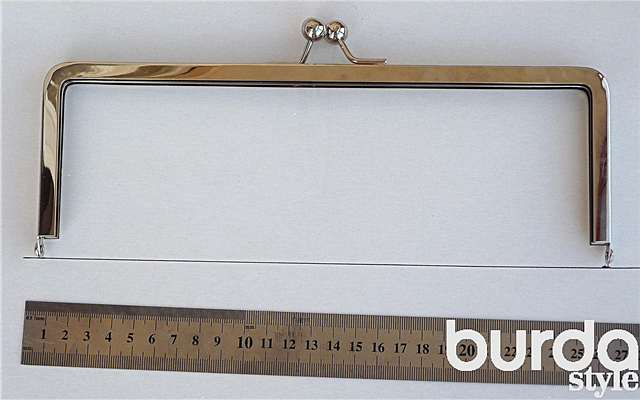
First, draw a horizontal line and attach a frame to it (as in the photo). Then we circle its contour along the outer perimeter.

We mark the middle of the distance between the corners of the frame, and draw a perpendicular line up from this point (point A).

We measure the distance between point A and B. Important in places where the frame is rounded, measure in steps of no more than 5 mm. otherwise the error will be great. From point C, draw a line and mark point D (CB = CD). The higher the point D relative to B, the more voluminous your clutch will be and vice versa.

We attach the frame to the contour (it is easier to visually perceive the parameters of the future handbag) and determine the boundaries of the future clutch.

Then cut out the details. In my version, the clutch has cutting curly corners.

We cover the details of the future clutch. IMPORTANT Be sure to put control marks (dot, A and B).

Next, duplicate the details with adhesive non-woven. This procedure is required, even if your model will be more voluminous and soft form.

Stitching the details. In my version; stitch zipper, sides + basic child + edging.

Stitching the main details of the clutch.


We insert our clutch into the lining face to face, combining the control marks (do not forget to mark the points A and on the front side). And we grind, leaving open a small area through which then we can turn out our clutch.

We turn out our clutch and lay a line in the open area.

So, to install the frame we will need: glue "moment" liquid nails, a small syringe, clothespins, twine and a thin screwdriver. On the frame, mark the middle (I make the mark with an aqua marker).

Using a syringe, we drive glue into the frame, but only in one side of the frame, because You must manage in 15 minutes. (so much time the glue is active, if you have a different glue, then be sure to read the instructions). It should not be much, otherwise when installing the excess will be on the clutch, but a small amount is also bad, it will affect reliability.

We insert the clutch into the frame, combining the marks and fix it with a clothespin (preferably clerical or wooden, but not reflex, because they leave marks on the material). Next, we continue to slip the clutch into the frame from the center to the corners, first on one side, then on the other.

We check that the fabric lies evenly on the reverse side, we adjust it with a screwdriver to the corners, if somewhere it does not fall into the frame.

Then we drive the twine from the lining side into the frame so that the clutch fits snugly on the frame from the front side. Now we repeat all the manipulations with the other part.

Let the glue dry (as much as is written in the instructions). And voila! Our clutch is ready!
Share
Pin
Tweet
Send
Share
Send


