Share
Pin
Tweet
Send
Share
Send
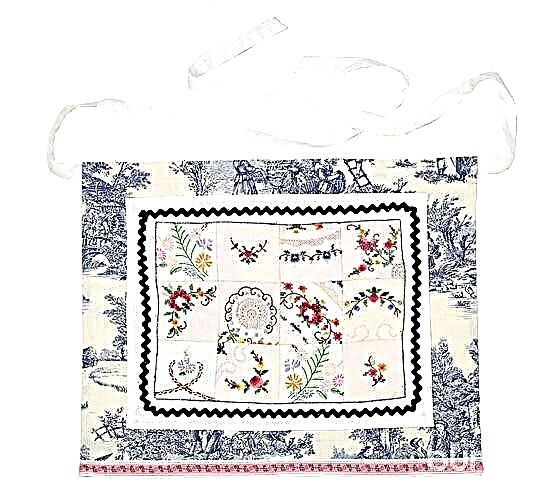
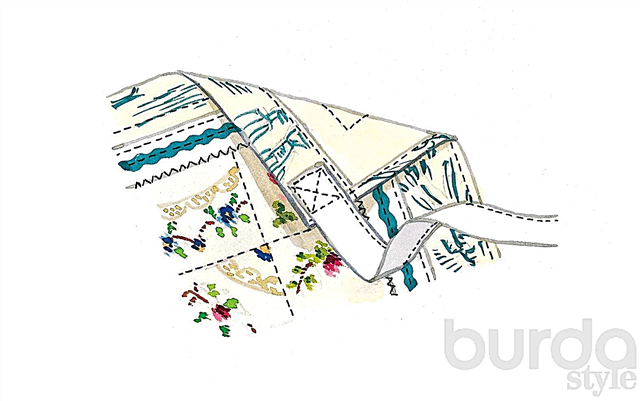
Do you have a whole collection of different embroidered napkins? Sew a unique apron from them!

YOU WILL NEED
Napkins with embroidery (cross, stitch, etc.) ● white cotton fabric size. 54 x 43 cm ● colored cotton fabric size. 70 x 63 cm ● webbing with blue teeth approx. 1.2 cm, approx. 1.70 m ● woven border approx. 2.5 cm, approx. 70 cm ● white tape for ties 2 cm wide, approx. 1.60 m.
CUT
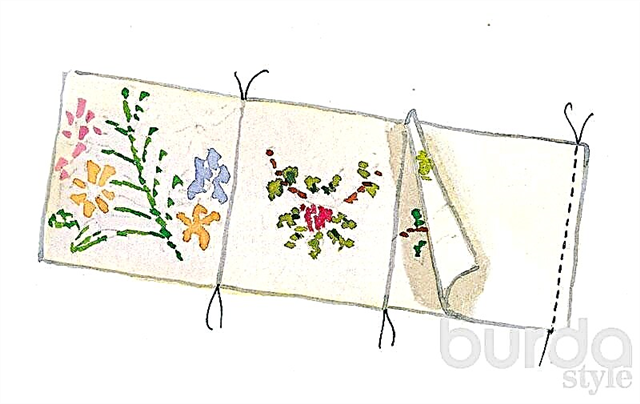
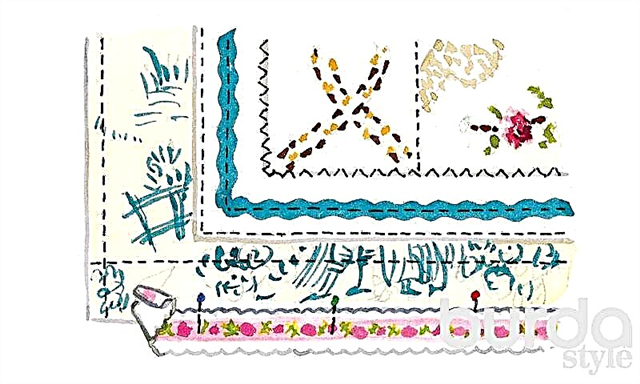
Iron napkins. Cut 12 squares out of them, side of the square = 11 cm. Fold the squares in 3 rows of 4 squares. Fill the squares in rows (see the figure on the left), the width of the seam is 0.6 cm. The allowances in each row are ironed in one direction.
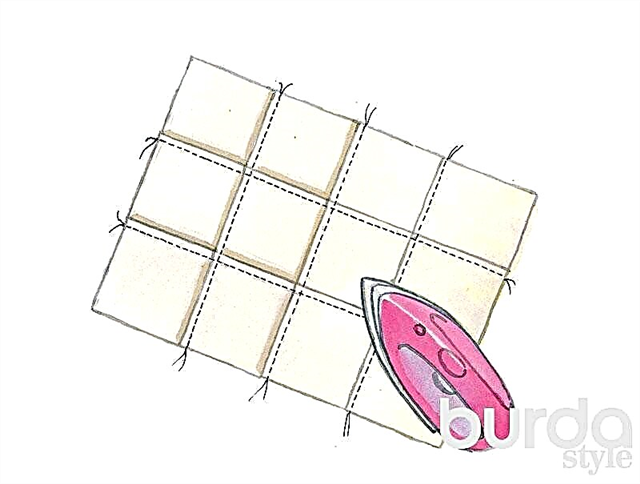
Start rows, before this, fix the joined seams on the squares. Iron seam allowances on the wrong side (see figure on the right). Iron the outer sections of the patchwork piece onto the wrong side to a width of 0.6 cm.
PREPARATION AND ASSEMBLY OF PARTS
Treat the fabric part with the pattern with a hem as follows: long sections (= upper and lower edges), twist 2.5 cm wide twice and pin, then stitch to the edge.

Shorter sections (right and left edges of the apron) should be double-edged with a width of 1 cm (iron first 1 cm on the inside, then again 1 cm, pin with pins and stitch, see the figure on the left).

Patch a piece of shreds exactly in the middle on a piece of white fabric. At a distance of 2 cm from the patchwork part, circle the same distance at the same distance to sew braid with scallops (see Fig.on right).
Press sections of the white fabric part to the seamy side, 2.5 cm wide. Pin the part in the middle on the fabric part with a pattern. To stitch all seams of shreds in a zigzag white thread, capturing all three layers of tissue. Stitch the patchwork with blue threads in a zigzag around all edges. A piece of white fabric with shreds sewed to the edge on a piece of fabric with a pattern. Carefully iron the apron.
COMPLETION OF WORK
On the lower edge of the apron to the edge, sew a woven border, at the same time, turn the beginning and end of the border 1 cm wide (see the figure on the left). Cut the tie band in half and stitch the halves on the right and left along the upper edge of the apron (see the figure on the right).
 Tape the ends of the tape to a width of 1 cm.
Photo: Emma Mitchell and Holly Jolife from Nicky Trench's A Passion for Quilting, Cico Books, London 2012.
Share
Pin
Tweet
Send
Share
Send