If the main fabric is not enough, and there is no suitable material either, you can still make a slanting inlay from small shreds. And you do not have to grind a lot of short strings into one long.
You will need:
- A flap of tissue 10x10 cm in size (you can use smaller tissue residues);
- Ruler;
- Marker for fabric or tailor's chalk;
- Tailor's scissors;
- Device for forming a slanting inlay;
- Needles and thread for sewing;
- Sewing machine
How to grind slanting inlines and complete finishing lines
Step 1

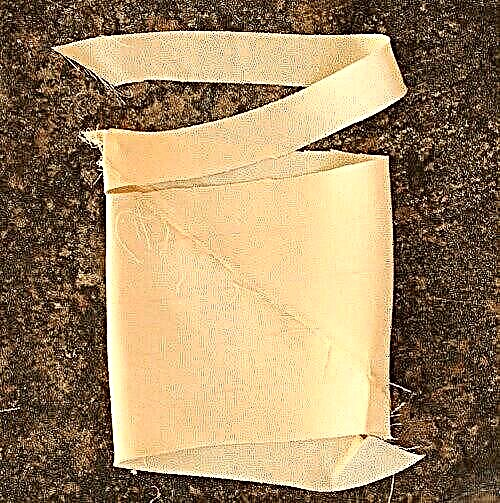
Cut the square shred exactly diagonally.
Step 2

Fold the two parts by aligning the short sections as shown in the photo. Chip and grind.
Step 3

Fold the part flat, iron the seam.
Step 4

Spread the part - draw lines parallel to the long side at a distance of 4 cm from each other (width of the ribbon).
How to cut a slanting trim from a thin fabric
Step 5


Fold the part with the front side inward, aligning the short sides with a slight offset so that the drawn lines exactly coincide with each other.
Step 6

Chip and grind.
Step 7
Flatten the seam.
Step 8
Starting from the offset side, precisely along the drawn lines, cut an oblique inlay.
How to make a slanting trim with the help of a tailor's pin
Step 9

Form a slanting inlay using a special device or using a tailor's pin.
Life hack: the most unusual way to make a slanting inlay
Source and photo: blog.colettehq.com